Welcome to Impos 6.55! We’ve excited to announce some great new features, as well as improvements to our interface and bug fixes to make Impos better than ever.
New Features
Impos Kiosk
It’s here!
Kiosk is Impos’ brand new order-at-table software, to streamline your service and allow your customers to order what they want in their own time, without any QR Codes or third-party integrations. Kiosk tablets can be fixed to tables or anywhere it is convenient for your customers to place orders.


Kiosk has been seamlessly integrated into Impos’ existing Back Office software platform and is super simple to set up and edit, using your existing items and modifiers.
Setting Up Kiosk
Items
Your existing items can be used – you’ll just need to add a picture to your items to display in Kiosk.
To do this, jump into the item in Back Office. You’ll see that there is a new field called “Kiosk Picture”.
Selecting Kiosk Picture takes you to the Image Upload screen. Click “Choose an image…” and navigate to the image that you wish to use. We recommend that you take and use photos of your own meals, however you can use any of the standard images saved in C:\Impos\Pictures.
Once you’ve selected your image, click “Save” to add it to the item.
The filename of the image now appears in the “Kiosk Picture” field in the Item. Click Update to save.
IMPORTANT:
Remember to click “Update” on the item screen or the image won’t be saved to the database!
Modifiers
Once you’ve added the images that you want your customers to see, next we need to add any modifiers you think your customers need, and pop them into auto-modifier lists.
A NOTE ON SIZES:
We recommend using modifiers for sizes (adjustments aren’t available to use in Kiosk). If you prefer not to use modifiers, you will need to create different items for each of your sizes.
First, create the modifiers normally through Back Office, then create a new Auto-Modi sublist through Menu Details > Sublist for each item or group of items that you want modifiers to appear on. Add the modifiers you need to the sublist.
Here you can see that we’ve created a new Auto-Modi sublist called “AM-Pizza Modis”, which contains the modifier for size (Family Size +$4), as well modifiers to remove ingredients from the pizzas.
TIP: Keep your Kiosk modifiers simple. If customers have complicated requests, ask them to come and speak to you.
To apply the Auto-Modi lists to the item, go to Menu Design > Auto Modifiers and add the list to the item. There is a new option available in Auto Modifier Setup which will allow you to choose which Auto-Modi lists appear on the POS, and which appear in Kiosk. In the example below, you can see that we have checked “Show in Kiosk” but not “Show in POS” as we want this list to only be available in Kiosk.
TIP: Both “Show in POS” and “Show in Kiosk” are checked by default. Go through your auto-modis and make sure that all of your lists are set to display in the appropriate environment for your service. And always remember to UPDATE after changes!
Designing Kiosk
Finally, you’ll need to create some new Sublists for your Kiosk menu so that you can design them.
To create a new sublist, go to Menu Details > Sublist, and click “New”. Type in the name of your sublist and click “Save New”. Don’t design the sublist here – you’ll do that in Menu Design.
TIP: Remember that Kiosk is customer-facing when naming your Kiosk sublists. Calling your Kiosk sublist “Pizza Menu” will differentiate it from the “Pizza” sublist that already exists in Front Office, whilst still making sense to customers.
Design
Once you have created your sublists, navigate to Menu Design in Back Office. Here, you’ll see a new tab called “Kiosk” which is where you’ll design your Kiosk Menu.
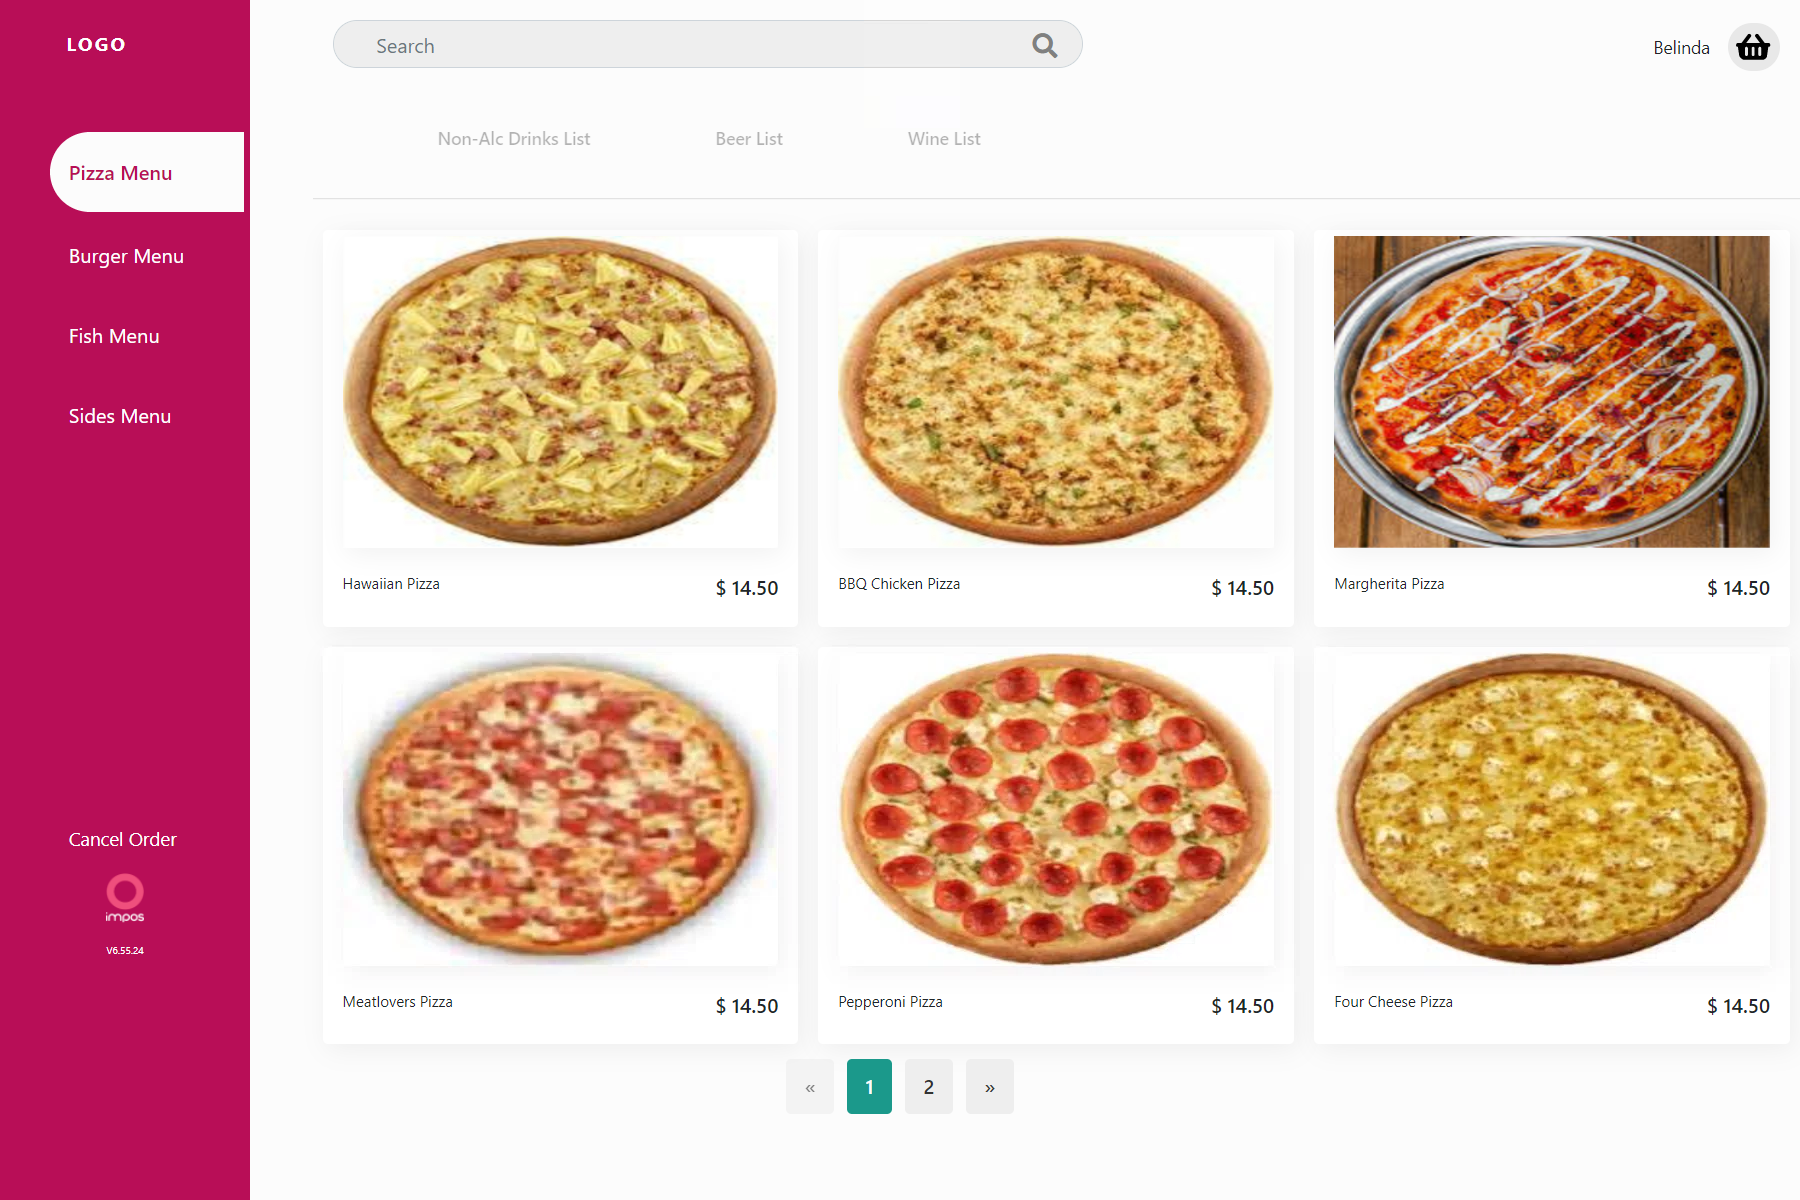
Kiosk has two locations for sublists, in the left-hand column, and across the top. These can be used for any sublists you like – here you can see that we’ve put our food sublists in the left column and our drinks across the top:
Drag your items onto your sublists as normal.
Mapping your Kiosk Devices
In order for each Kiosk device to send orders for a specific table, you will need to “map” the Kiosk device to a table in Back Office.
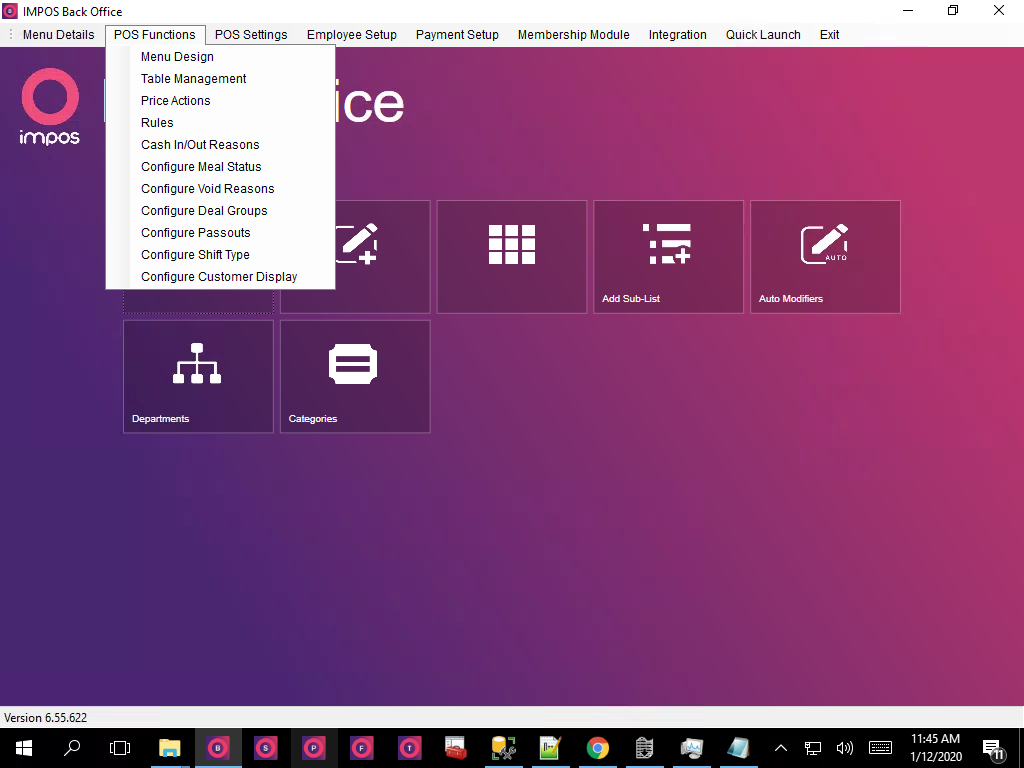
Navigate to POS Functions > Table Management

Select the table you’d like to map your Kiosk device to. In this example, we’ve clicked Table 1.
On the right-hand side, under “Allocate To Station” select the station name of the Kiosk device you wish to map to that table.
Click UPDATE and voila, all orders from our Kiosk device SGO1 will be mapped to Table 1.

Using Kiosk
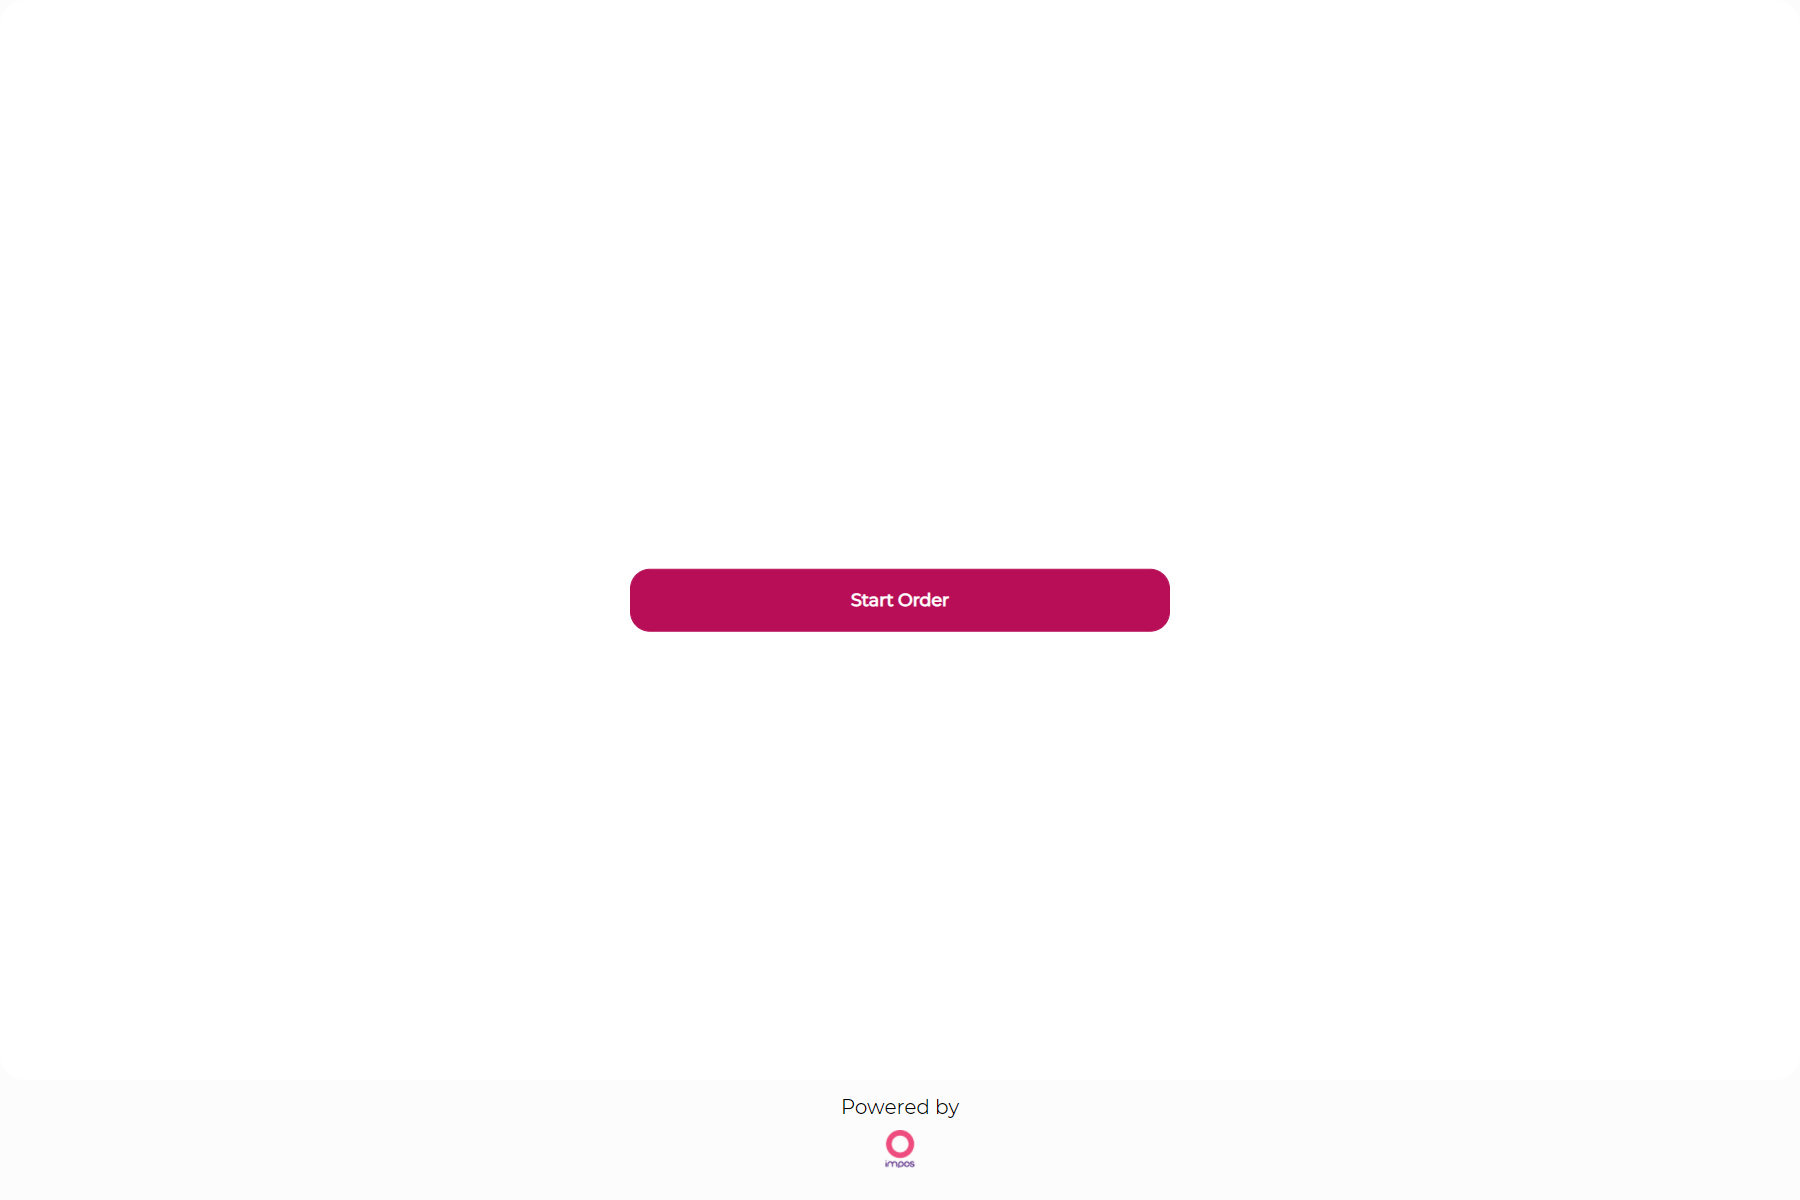
Kiosk is simple and intuitive to use. Customers simply select Start Order, select their items from the sublists, go to their shopping cart and check out. Payment is made at the POS terminal either when they collect their order, or at the end of their meal. Simple!


JOMO
Introducing our newest integration partner, JOMO (The Joy Of (never) Missing Out).
JOMO is an app that offers customers the ability to browse menus, order and pay on their phones when in your venue. JOMO offers hospitality venues a new contactless way to serve customers safely with fast turnaround times. Some of the benefits:
- Put safety first by collecting people’s details.
- Serve more customers without more staff.
- Less running around, more turnaround.
- Runs tabs, without keeping tabs.
- Same day venue payments without e-commerce fees.
- Offer a new experience for you and your customers.
And perhaps the most exciting…
- A loyalty and deals program that can be run entirely by a business.
How jomo works
- Each venue gets a beacon (bluetooth functionality). Stick it on a window, on your wall or desk. Once it's in your venue and set up, beacon placement doesn't really matter.
- Customers download the app and enter in their card details. This step also ensures secure check-ins as well as payment security for your venue.
- Customers enter their table no. All you've got to do is make sure your tables are numbered.
- Customers order on their phone. Each person on the table can place their order together or seperately.
- The venue receives a notification behind the bar/counter to manage the order. The order will appear on the venue's Impos backend interface, tied to each table number. Tick off actionable items as needed.
- The app automatically pays when the customer leaves - no manual bill to table or beacon tapping needed. If a customer leaves a venue without paying, the app automatically charges then 10 minutes later, after an initial 'Pay Now' option. And the best bit? There's an option to split the bill directly within the app!
If you’re interested, contact Impos on 1300 308 615 or at impos.com.au
Interface Improvements
License Header
Your Front Office home screen will now display a persistent header when your license has 14 days remaining. A popup will also appear when the terminal is idle prompting you to call and renew your license.
Quick Launch
The Quick Launch feature has been expanded, and now allows you to add shortcuts to most menus in Back Office to your Back Office home screen.
Seated Info
The Seated Info view in your Check Access screen now displays tabs linked to tables, allowing uniform functionality across all check types. Tables with linked tabs will be highlighted in yellow:
Set Menu Printing
Set Menu dockets have been improved, with distinguishable headers and indentation. Additionally, the quantity display “ea” on dockets can be configured to print or be hidden. You can find this settings in the Set Menu Details tab of the Set Menu Setup in Back Office.
Membership and Delivery
Impos Membership and Delivery now share customer details. This makes all members available to use within ImDelivery without the need to re-enter their details. Selecting Delivery in Front Office will now display a list of all members.
NOTE: selecting the member from ImDelivery will NOT assign the member to the order automatically. To ensure that points are accrued correctly and orders retained, please assign the member to the order through the Member function.
Bug Fixes
As usual our developers have been busy fixing up the small issues that crop up from time to time. Here is an overview of our latest fixes:
- The Stock module will now display a standard error message when attempting to save an item after another user has modified the Stock No, rather than an unhandled exception.
- It is now possible to transfer items to tabs which have been paid or part-paid and are still open.
- Using Void All and entering the credentials of an unauthorized employee no longer causes an unhandled exception in Front Office.
- The same print queue name can be used several times when configuring Kitchen print queues rather than creating unique queue names for the same printer.
- Making use of Order printers no longer requires a random Kitchen print queue to be defined as well.
- Menu Design auto fill is now usable in nested sublists without changing the location of the sublists.
- Quick Lists in Front Office are removed after orders are paid.
- Front Office no longer requires a restart to deactivate scheduled deal groups.