The User Login Screen

This is the very first screen you'll see when you open Impos Front Office, and is the primary security feature built into the software. There are three main functions of the User Login Screen:
- User Login
- Staff Time Management
- Basic System Information
The Login screen will automatically appear first when you open Front Office from your Desktop, and you can go back to it at any time by clicking the Log Out function from the Menu Screen.
User Login
There three options when it comes to what information users need to enter to log in, and we can set any of them up at your request:
- User ID only (default)
- Password only
- User ID & Password
Furthermore, the system can be configured to ask for log in details:
- After each transaction (default)
- Once only, unless manually logged out.
The reason for a login is to designate an employee or “cashier” to each transaction performed on the POS terminal. This information is then tabulated various reports and allows for accountability and sales target tracking. In addition, there are some functions that have restricted access, and by enforcing login after each transaction, you can more easily control which staff members have access to which functions.
Users log in by entering their credentials via the touch screen. Alternatively users can access the system by tapping a proximity or RFID band onto a receiver which has been integrated with the POS. Speak to our sales team about proximity readers and bands if this option interests you.
Staff Time Management
There are two main functions in the Staff Time Management module:
- Clock In and Clock Out
- View and Edit Shifts
Clock In and Clock Out
Impos has a simple Clock In and Clock Out feature which allows you to track staff hours. Users can access this by tapping the clock in the lower left corner of the Login Screen. The Clock In/Out window will appear, and allows users to start or finish their shifts or breaks.
In order to clock in/out, the user will need to:
- Select the clock icon in the lower left-hand corner of the screen
- Enter their User ID and Password and select "Clock In/Out".
- Select "Start Shift" or "End Shift" (the system will only offer the appropriate option, depending on the user's current status).
View and Edit Shifts
The system allows staff to edit their previous clock in/out entries. (Staff with Admin access will be able to edit the shift entries of all employees.)
In order to View and Edit Shifts, the user will need to:
- Select the clock icon in the lower left-hand corner of the screen
- Enter their User ID and Password and select "Clock In/Out".
- Select "Edit Previous Shifts". This will bring up the five most recent shifts worked by the employee.
- If the user has Admin access, the window will also contain a drop-down list of all employees that the user can select from
- If you don't wish your staff to have access to this feature, access to this feature can be changed so that only Admins can edit previous shifts.
- Select the shift they wish to edit (it will highlight once selected) and selecting "Update Shift"
- Tap on the field they wish to update, and changing it using the pop-up calendar/clock functions
- When done, select "Save"
- You can then navigate either to the "Clock In/Out" function again, or exit back to the login screen by using the "X" icon in the upper right hand corner.
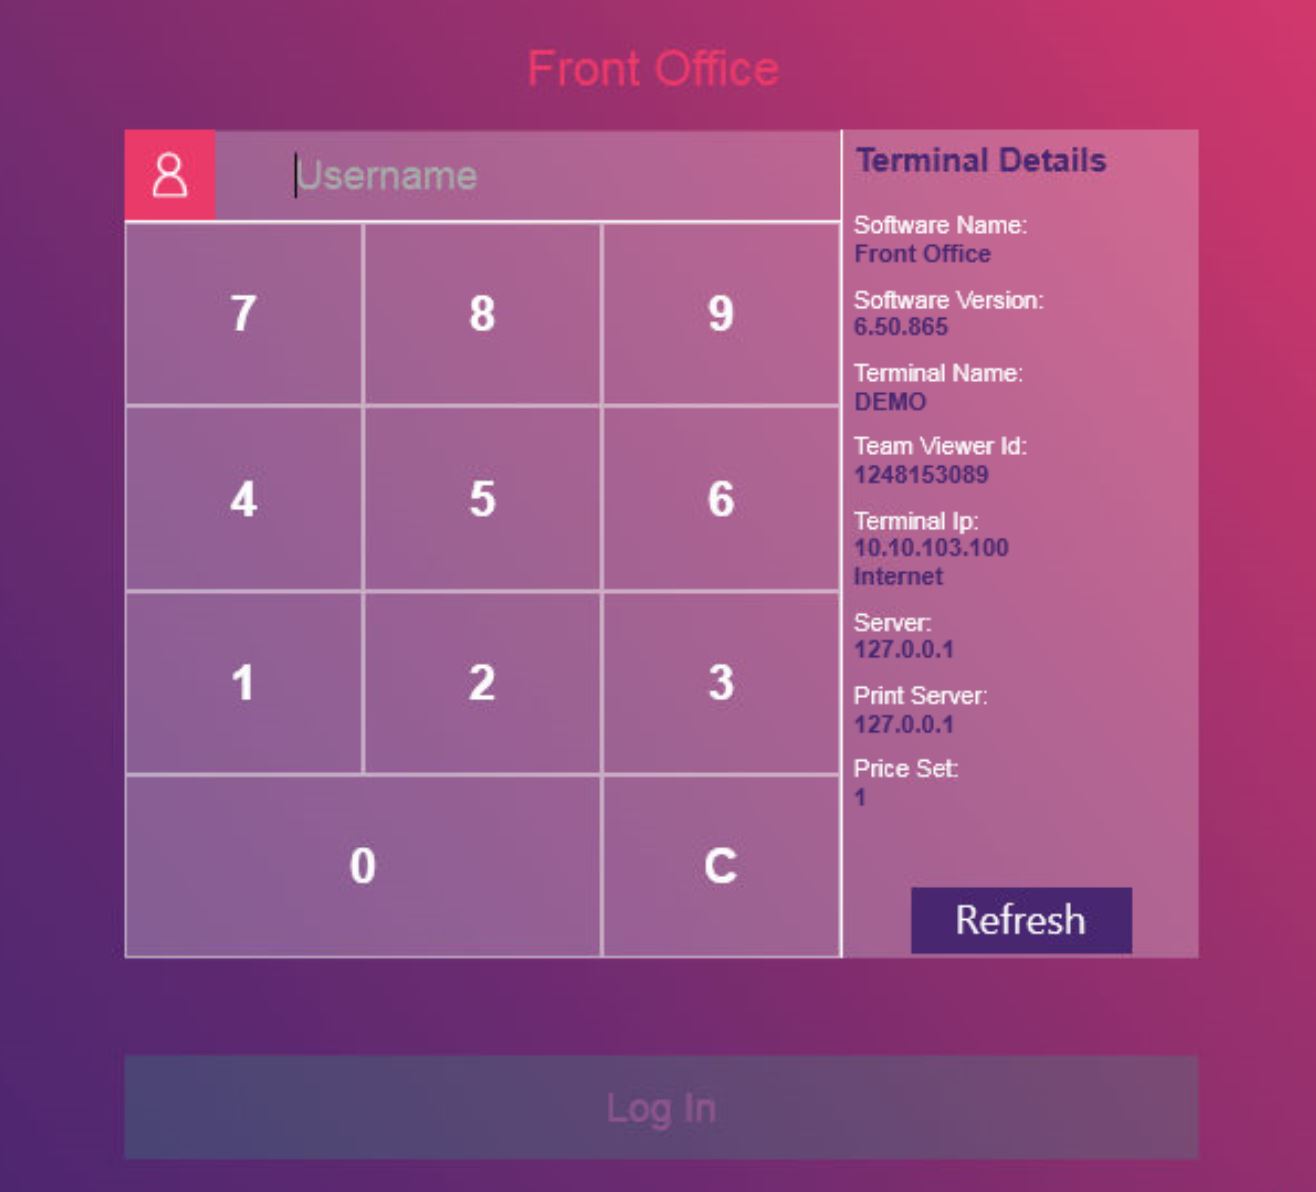
Basic System Information
By clicking the "i" icon in the upper right hand corner of the Login screen, you can access some basic system information that may assist you with software or technical questions you may have.
When you select the icon, the system information will appear on the right hand side of the numeric keypad, as shown below. To return to the Last Transaction information usually displayed there, just click the "i" icon again.